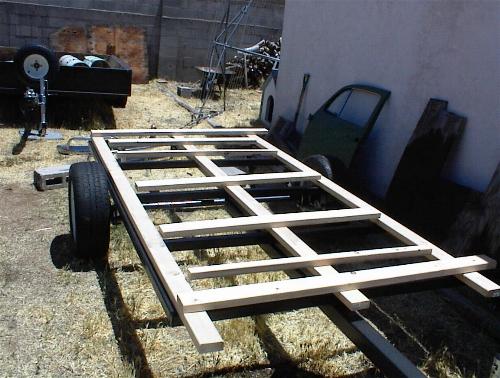
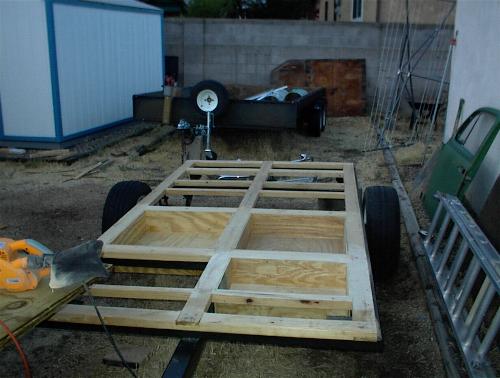
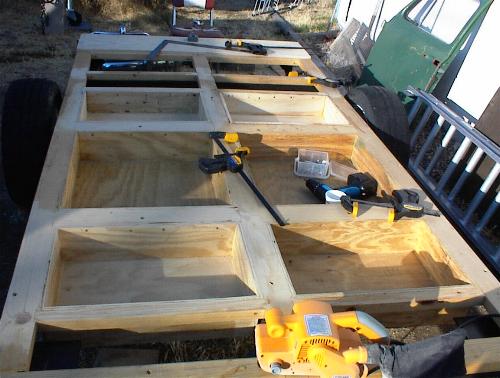
| I will be framing the floor with 2x4s, a couple ripped in half, and have laid
out the frame members on the chassis. The 2x4s are overkill according to the plans
I've purchased and everything I read on the Teardrop Forum.
Since I plan to add underfloor storage areas the 2x4s are handy as they are wide enough to clear the chassis
members and will make a great attaching point for the plywood underfloor boxes. |
 |
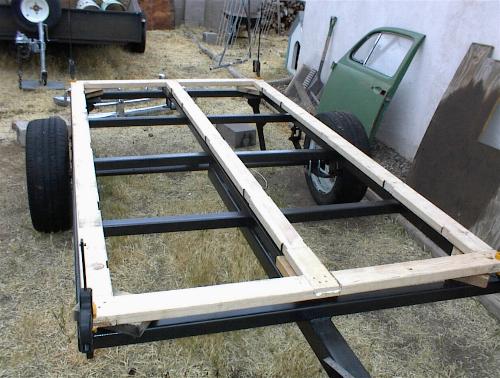
| The Kuffel Creek plans I purchased say to use simple butt joints on the frame and while
this would probably work I went ahead and made half-lap joints all around. I used Gorilla Glue
and screws to hold the members together. The long frame members are also notched to accept the
cross members. |
 |
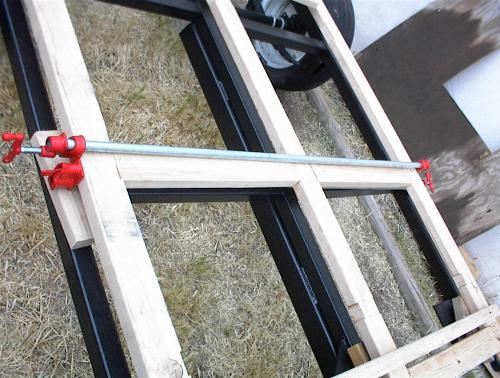
| The cross members are each cut to fit and glued with Gorilla Glue. I'll be adding
screws through the corners in "toe nail" fashion. I bought three 10 foot pipes and six pipe
clamps when I started working on the tear. I cut the first pipe exactly in half and added the clamps
you see. It turns out that these clamps will not be long enough to clamp the tear once
I add the walls. For the remaining two pipes I'll cut them into different lengths, 5'6" and 4'6".
This will give me two clamps long enough to clamp the full width of the tear (which is 57 inches). (6/11/2005) |
 |
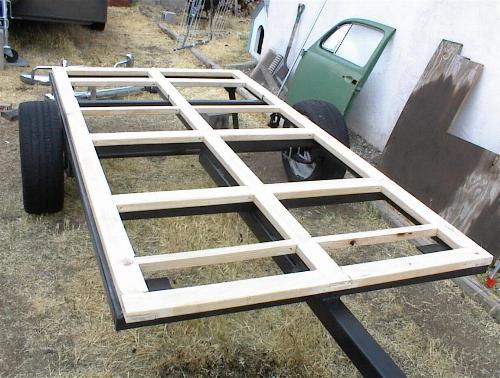
| Finished gluing the crossmembers in place and sanding the excess glue. Just a few more things
to do before I start building the six underfloor boxes. |
 |
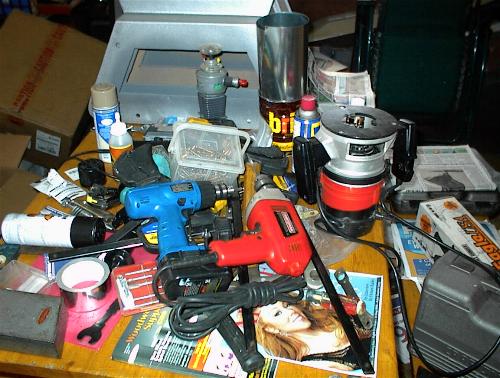
| At the end of a day working outside on the teardrop my dining room table tends to look like this.
Sometimes I even get most of these tools put away before the next time I use them. Can you tell
that I'm single? (6/13/2005) |
 |
| My plan to get the floor flat is to strongly attach the 2x4 frame to the chassis. I'm laying out
the holes I need to drill here. |
 |
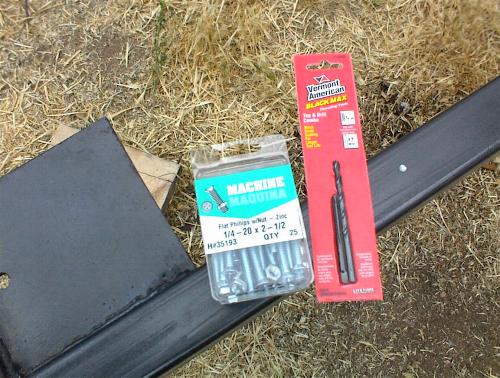
| The frame will be attached using 1/4-20 flat head bolts countersunk into the wood and going
into tapped holes in the chassis. I should be able to pull it very flat this way. I bought a new drill/tap
set for the 22 holes. (6/15/2005) |
 |
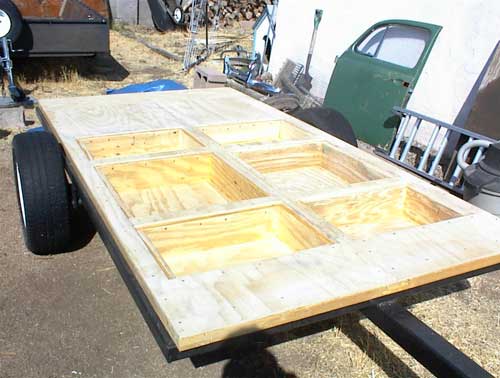
| The first underfloor storage box is started. Woo Hoo! I've routed a rabbit along the bottom
of the pieces to receive the box floor. Note my wimpy electric brad nailer that I picked up on eBay--it won't
drive a one inch brad through two pieces of plywood (sigh). (6/17/2005) |
 |
| Here is how I'm leaving the teardrop as I head to Minden, NE for the First
International Teardrop Gathering. Three boxes down, three to go. (6/21/2005) |
 |
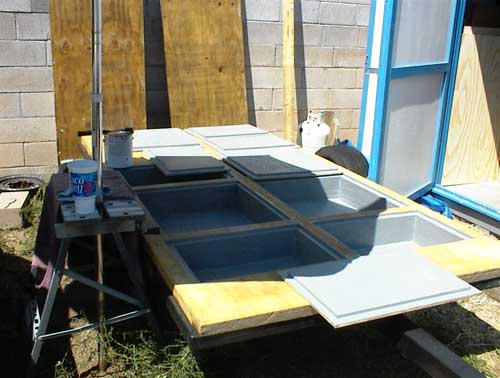
| The last of the six underfloor storage boxes is done and mounted sticking up slightly above the frame.
All the boxes were mounted this way then sanded flush with a belt sander. I've also installed the first small piece
of new 1/2" plywood floor at the rear of the trailer. (7/1/2005) |
 |
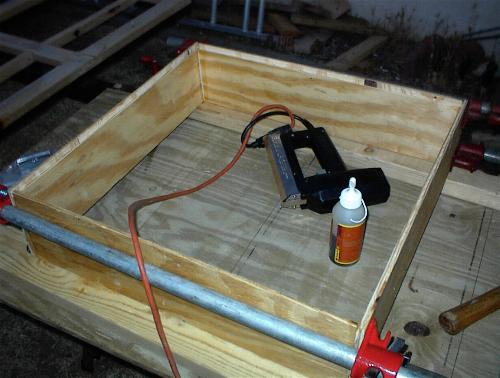
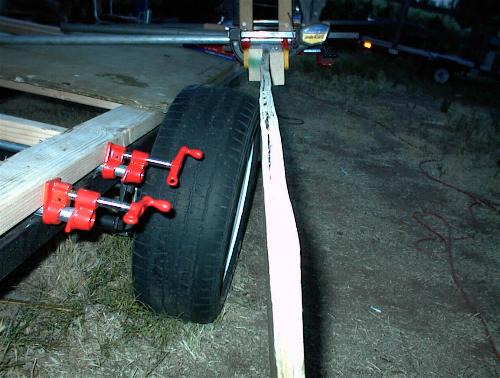
| The 3/4" treated plywood that was the floor is very wavy and its edges are separating. I've tried to straighten it out and reglue the plys. I wet
the edge of the plywood and put a thick helping of Gorilla Glue on it. Covered with plastic wrap and
clamped between these 2x4s, I hoped it would fix up the edge. The edges came out alright but the wood is
still too warped to use. (6/14/2005) |
 |
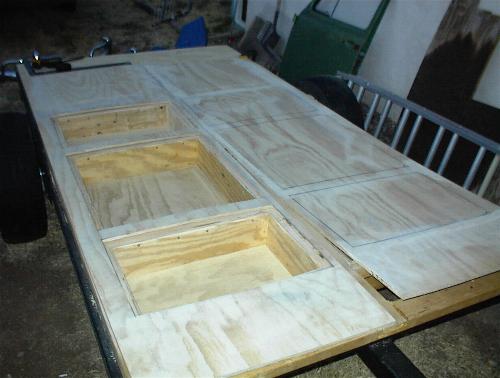
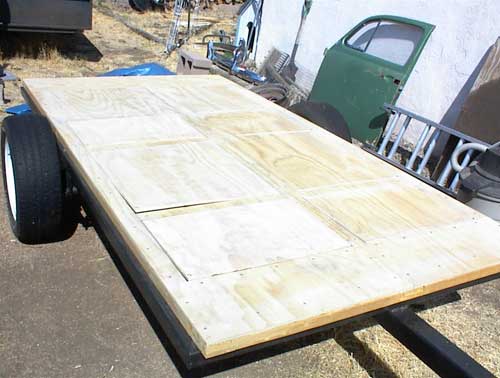
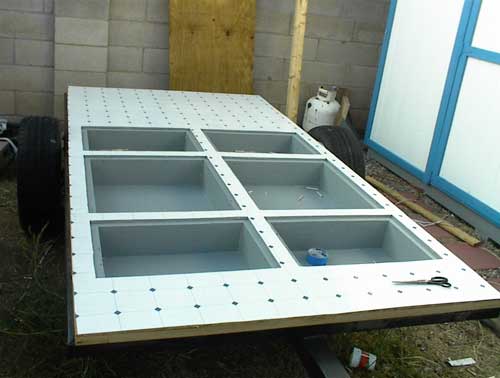
| The plywood floor has been cut and the doors for three of the underfloor storage areas cut with the
other three layed out. The 1/2" plywood should lay completely flat once glued and screwed to the 2x4 frame.
Still lots of sanding to be done to the openings and the doors before I glue the floor down. (7/4/2005) |
 |
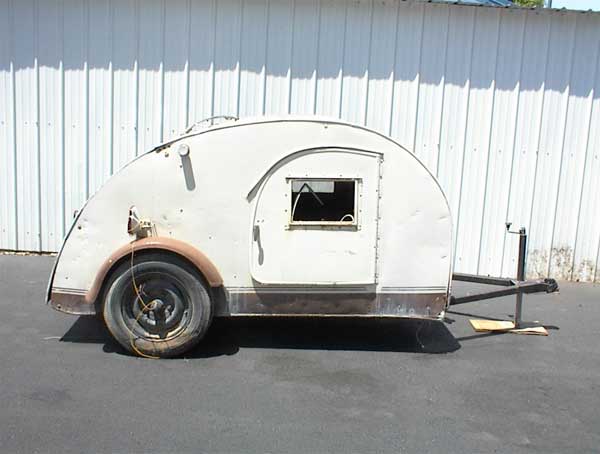
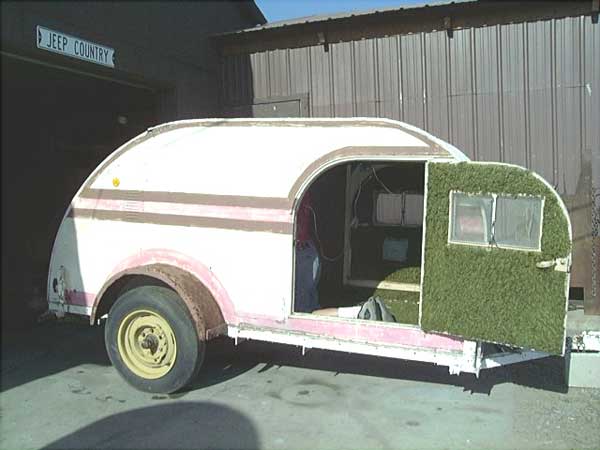
| Anything to slow me down--I just purchased this, my second teardrop on 7/13/2005. It is a 1948
home-built 4x8 model and here is it's build page. Spent the next two days cleaning it out, installing temporary wiring, adding safety chains,
and repacking the bearings. It is a wacky little tear that will need completely torn down and rebuilt from the
chassis up (deja vu). I'm going to attempt to not neglect one tear for the other and work them both simultaneously. |
 |
| Woo Hoo, the plywood floor is in place. I attached the plywood to the 2x4 frame using Titebond II
wood glue and plenty of exterior deck screws. |
 |
| Here is the floor with all six doors sitting in place. It looks like I'll be gluing and
screwing another piece of 1/2 plywood to the bottom of these doors in the hope of getting them
to lie flat. |
 |
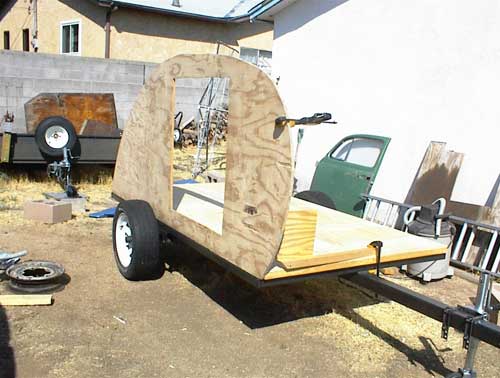
| Here is the obligatory shot of one wall up. Remember that this is the wall with
the wacky profile that I'm going to try to fix (sigh) and I'm still quite a long way off of
actually attaching a wall. |
 |
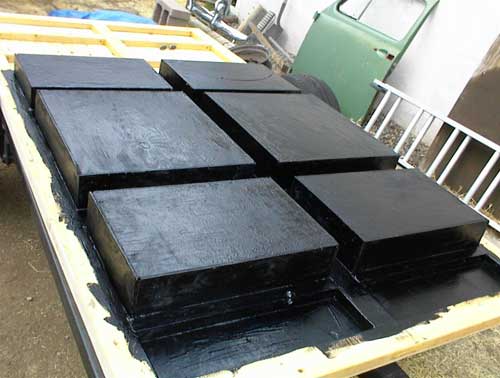
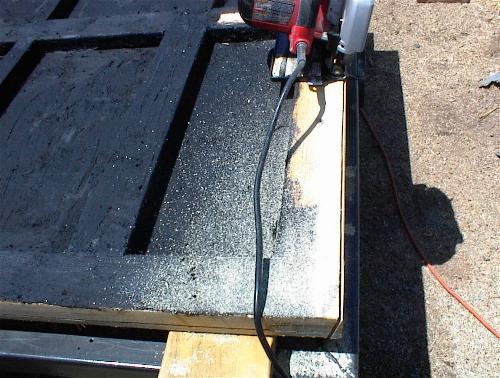
| Started to waterproof the bottom of the floor with asphalt emulsion, aka roofing cement.
Wicked stuff this black goo. You might be able to see that I made the two rear-most underfloor
boxes an inch shallower than the front four. These ones will be above the axle and the extra inch gives
about five inches of clearance. (7/16/2005) |
 |
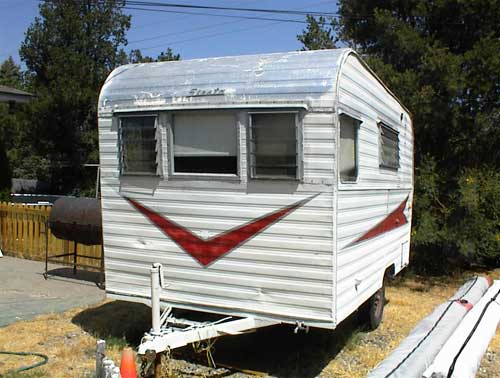
| Yet more to slow me down--I just purchased this vintage trailer on 7/17/2005. It is a 1960
Siesta and here is it's own page. This one will take less work (I hope) and will be
available should we need more room than the tears will provide. |
 |
| Oops, ought to do things in their proper order. I had meant to trim the rear angle
before I goo'd the underside. Made it all the way back to the 2x4 in question before I remembered.
You might notice that the goo looks a lot less shiny today. I trusted the sign on the shelf at Home Depot
and while I thought I was getting asphault emulsion roof coating, I actually purchased flashing cement.
I used it anyway and am thankful that it dried very quickly. The floor is now right side up and partially
screwed to the chassis. (7/17/2005) |
 |
| After working on the Siesta for over a month getting ready for the Trailer Trash Bash,
as well as picking up this, my third teardrop, (a 1959 homebuilt) I'm finally back to working on the 5x10 tear.
Here is the build page for the 1959 Greenshag tear. (9/1/2005) |
 |
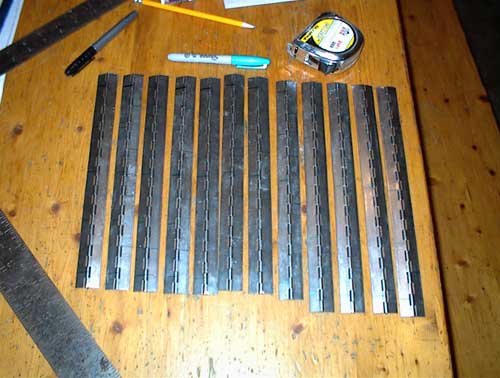
| I picked up 20 of these foot-long piano hinges from eBay (for $12.91 delivered) to attach the doors that cover
the underfloor storage bins. Had to cut one or two tabs off of each hinge and now need to drill and countersink holes
for the screws. Each door will take two hinges. Lots of work at the drill press... (9/1/2005) |
 |
| After beveling the front edge of the floor to match the walls I screwed the floor to the chassis
using the red, stronger version of Locktite on each bolt (since I'll never be able to access them again).
As planned I glued a second piece of half-inch plywood to the bottom of each door hoping
to un-bow them. It worked relatively well. Two coats of grey deck enamel on the storage boxes and I'm
ready to cover the floor.
Most of this Labor Day weekend was spent demolishing the free truck camper to make more room in my yard. (9/4/2005) |
 |
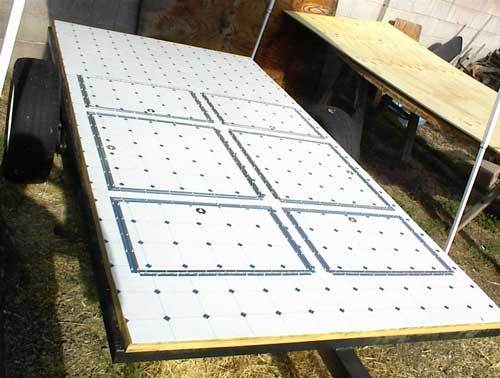
| The original builder bought a nice sheet of vinyl flooring which I was able to re-use. He had
cut it for the galley so I had to match up three different pieces to achieve what you see here. I first
placed the storage doors into their openings and shimmed them so they were centered how I wanted. I laid the
big piece of vinyl over the whole floor, temporarily stapled the vinyl to the corners of the six doors, then cut
the doors out close to the door edges. The pattern on the flooring should match up nicely when I drop the doors
back in. I used outdoor carpet adhesive to attach the vinyl and it got everywhere! (9/8/2005) |
 |
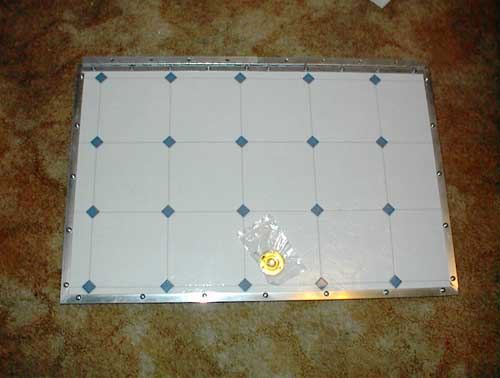
| One door nearly done! I still have to install the brass finger pull but don't want to disturb
the drill press setup I used to drill holes in the half inch aluminum angle trim until I drill the trim for the
five other doors. The trim came from Home Depot, the finger pull from D. Lawless Hardware,
only $1.78 each. (9/9/2005) |
 |
| Woo Hoo! The floor is done! It took over three months with lots of interruptions but
I'm pleased with the results. Time for the walls, which I've already started. (9/18/2005) |
 |
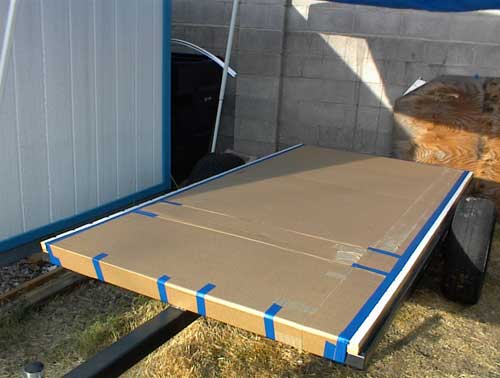
| Unfortunately, I won't be seeing much of the floor until the tear is nearly finished--I've
covered it with cardboard to protect it from tool drops and other scuffing behaviors. The cardboard
should also protect my knees from the 250 or so screws holding the underfloor storage doors and trim.
This is part of a king-sized mattress box I got for free from a
member of the local chapter of Freecycle, an environmentally
conscious group of folks trying to keep things out of the landfills by giving them away. I have
three more boxes the same size and will be using one or more of them to make patterns of the walls of
the other tears I'm working on.
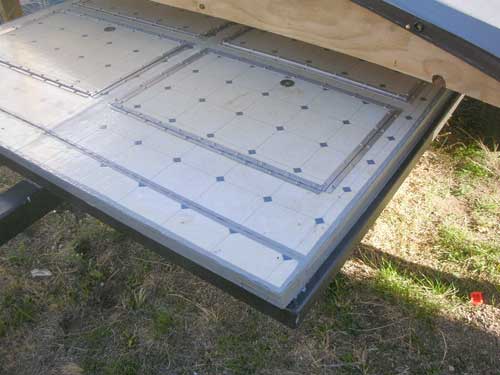
The edges of the vinyl, about an inch or so, were left exposed as these will be covered with the inner
insulated portion of the walls. I'll be cutting pieces out of the cardboard and retaping as I add features
like the bulkhead and closet. |
 |
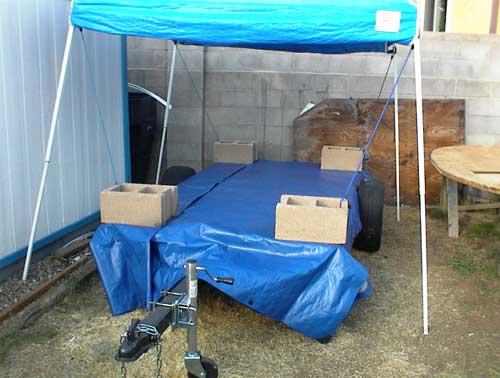
| And since I'm building the tear completely out of doors, I've added the requisite tarp(s). (9/19/2005) |
 |
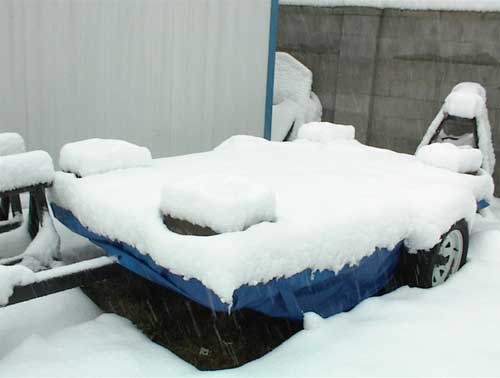
| Well it's been over a year, the floor is still under a tarp and it has been snowing like all get out. Hoping
the tarp is keeping my floor dry! (12/29/2006) |
 |
| Well almost two years later my floor didn't fair so well under the tarp. In summer of 2008
I uncovered the floor and inspected the damage. Rusted hinges and screws, water in my underfloor compartments, and the
vinyl is coming up. I dried, repainted the compartments, removed, derusted, and painted the hinges, replaced
all screws with stainless steel ones, and stapled the edges of the vinyl down (and painted over to keep the
staples from rusting). The floor is once again in good shape waiting for me to get back to work on the rest.
(11/29/2008) |
 |