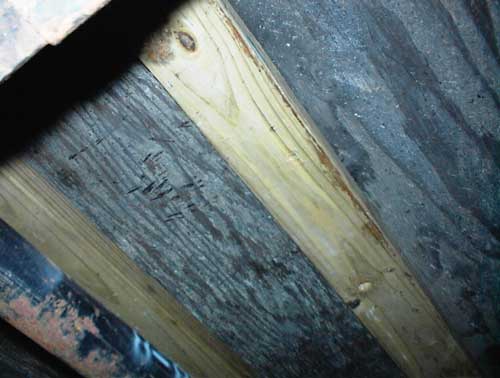
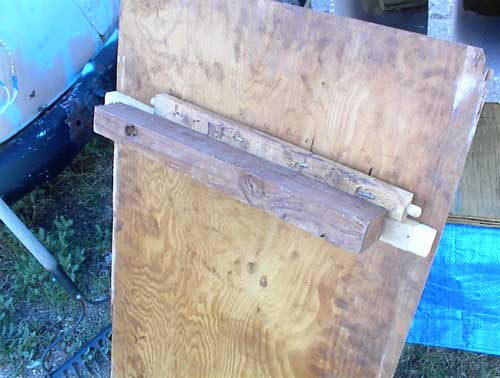
| The one structural problem with the Siesta is a spot on the floor that is very
weak. It turns out the original floor joist where two pieces of flooring plywood came
together was much too small and had broken. The previous owner attempted to fix this,
unsuccessfully, with some 2x2s butted up against the joist. I tore out the broken
piece and replaced with pressure treated 2x4s. These 2x4s came from the original
floor frame from my 5x10 foot tear and were bowed rather severely. I used this bow to
push the floor back up into place and it seems to have worked nicely.
I'll eventually coat the underside of the camper with asphault emulsion like I am
with the tears, a job I'm not looking forward to. |
 |
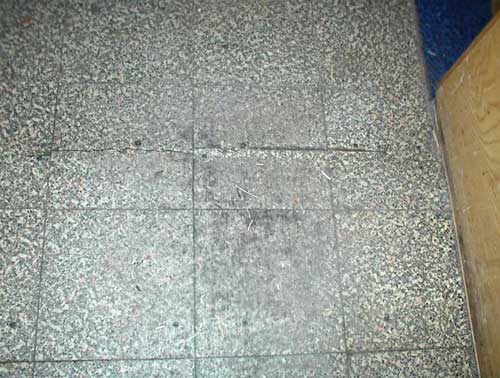
| Here is the original linoleum underneath the carpet. The broken floor joist
caused the linoleum to rip and I fixed it best I could. |
 |
| The tongue had multiple coats of white paint that was chipping off. It also had
a safety chain that was simply looped from one side to the other and was placed over the
draw bar in front of the ball. I decided I should strip and repaint the tongue before putting on the new,
proper, safety chains. There was quite a bit of rust that I was able to grind down and then
I used rust converter liquid. This stuff hardens into a tough, sandable primer which happens
to be black. I painted with Rustoleum "Hammered" finish black paint though I reserve the
right to repaint it white someday. I also stamped the VIN number into both sides of the
tongue as the original stamping was very hard to read. |
 |
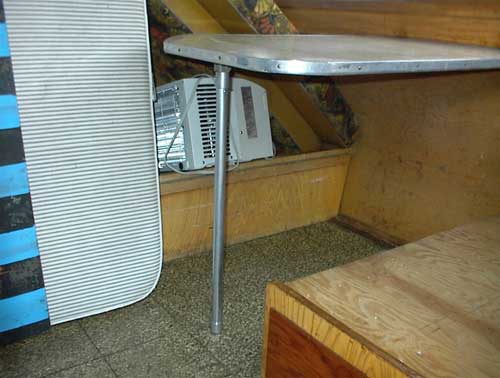
| The missing table leg was fashioned out of PVC pipe and painted with a metallic silver.
I may still replace this setup with a stainless steel pole in the middle that I got from
the truck camper I'm dismantling. |
 |
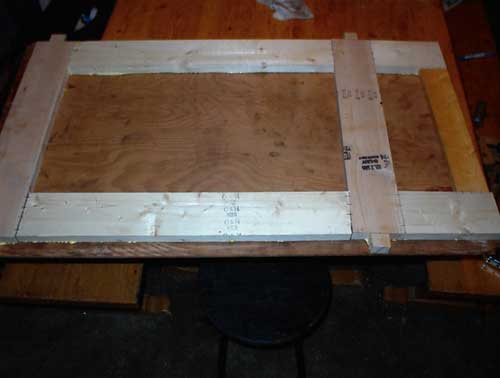
| The bench platforms for the dinette are 1/4" plywood with only two small slats reinforcing them.
I decided I didn't want my fat butt breaking through so I've reinforced with some 1x4 pine boards
which were glued and screwed in place. |
 |
| The second bench platform had one of the slats broken and fixed like this--with a piece
of a chair and a nasty 2x4. Obviously the folks who repaired this were trained the same place
the guy who built my 5x10 teardrop was--the school of use fasteners three times as long as you
need and bend them over with a hammer. |
 |
| I fixed the second bench like this. People who don't have a clue should not be allowed to buy tools!!!! |
 |
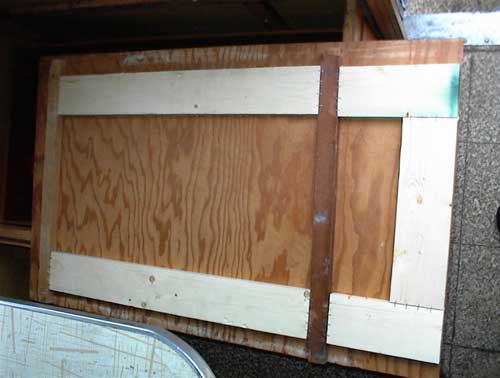
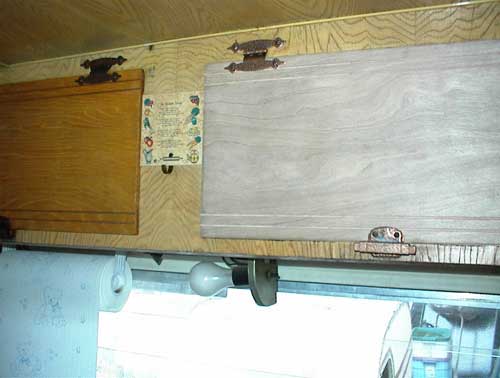
| One of the cabinet doors above the stove was missing when I bought the camper. I was able
to fashion a fairly good fascimile which is shown here unstained/unfinished. The hinges for the
new door were purchased from D. Lawless Hardware and match the shape nicely even though
they don't looks nearly as old. The latches at the bottom of both these doors were robbed from other cabinets
in the camper as they were missing. |
 |
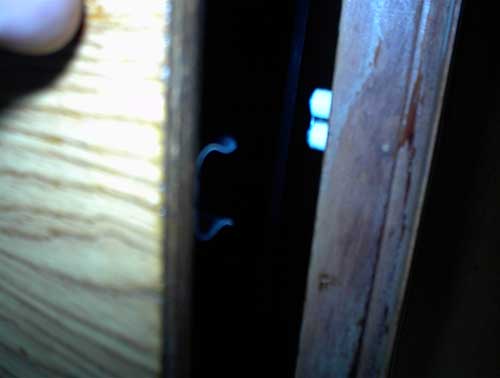
| For the closet and lower cabinets where I stole the latches I added these roller
catches to the inside to keep the doors closed. |
 |
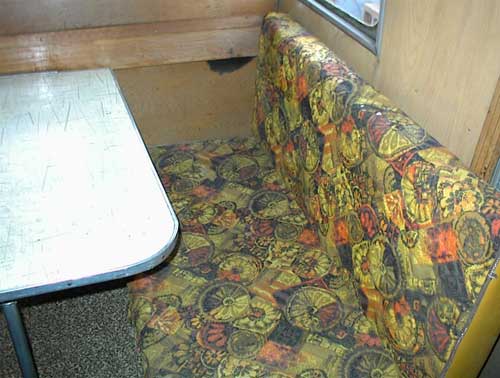
| Here is a view of the dinette cushions robbed from the truck camper. They are heinously ugly,
as you can see, and too big. Have some very nice material to recover them once cut down. |
 |
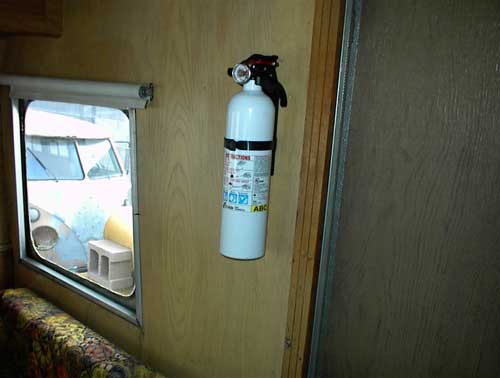
| The previous owner was kind enough to have purchased a new fire extinguisher for me, I had
merely to put it up in place of the 1970s version that was hanging here.
If you look out the window you can see the front of my son's project, a 1963 VW Transporter (aka Bus). |
 |
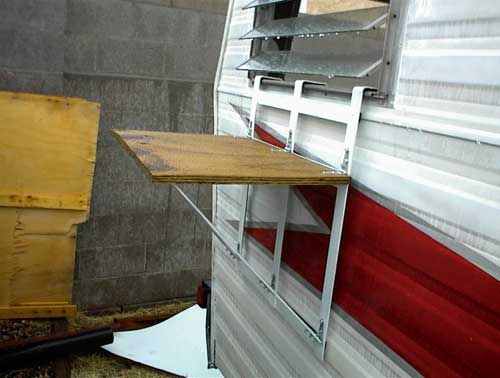
| You may have seen a small window air conditioner a few pictures back. In order to use this unit
without removing a window or worse, cutting a hole in the camper wall I came up with this shelf idea.
Made of 1.5x1/8 steel bent and welded, the shelf and angled supports are hinged so the thing might fold
up a bit to fit through the camper door during transport. More pictures of the rest of the set up later. |
 |